Showing posts with label tutorial. Show all posts

Sunday, February 26, 2017

Two Free Quilt patterns for a game and a quilted wall hanging


Wow, time really does fly when you are having fun!
I have been busy over on the QUILTsocial blog whipping up some cute patterns using Northcott Fabrics.

The first is a game of X's and O's, but I used hearts instead of the X's as it was right around Valentine's Day.  I know kind of sappy=)


You can get the link here to get the instructions on how to make it!  Yes, I did quilt hearts in the background. I even made sure it would roll up for easy traveling.


This next quilted wall hanging looks so adorable in real life, and I am not just saying it because I made it, or because it has circles all over it.


I used a bias tape maker to make the trunk and branches and it worked really well. 


The hearts were fused on and then quilted. 

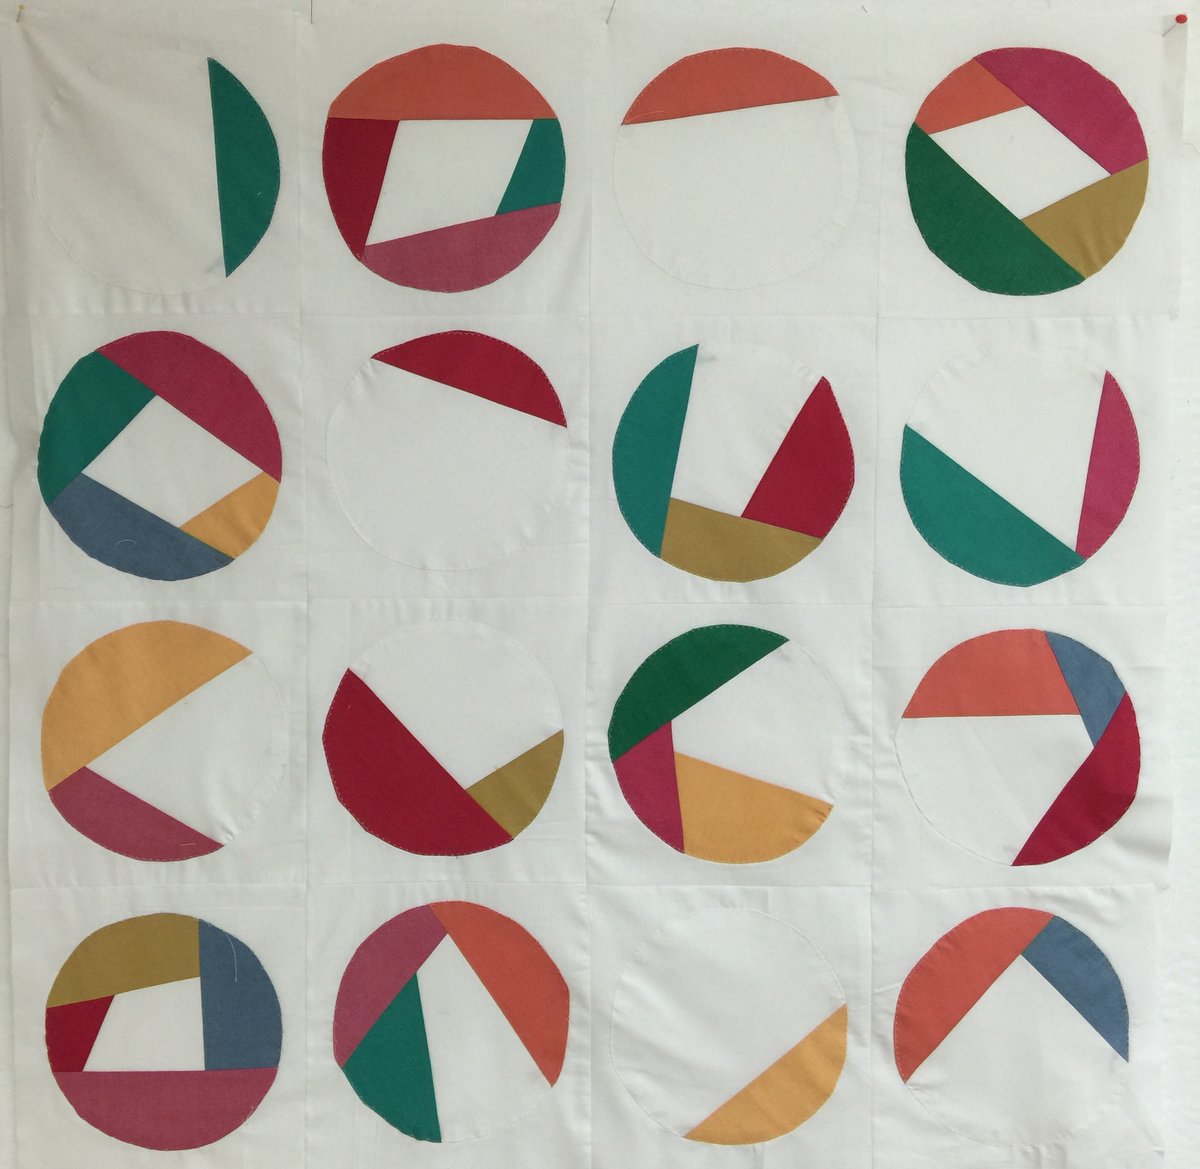
My latest project has circles in it, that is the rough plan anyway.  No sketch with this one, which is not something I usually do. I always have a sketch in my art pad, but this one, I just went into my studio and started to sew!


I hope you are doing lots of fun quilting projects!


Thursday, January 5, 2017

Two Free Quilt Patterns Using Northcott's Naturescapes Fabric


Happy New Year!

I have had the pleasure of bringing in the New Year making two fun quilts using Northcott's Naturescapes collection.


The best part is the patterns are free and available over at QUILTsocial.
The first one, I show you a super simple way to the Drunkard's Path block.  Trust me when I say, it is easy, no pins and actually fun!  Plus it involves circles and I love circles.  Here is the quilt, I called it Pebble Play, because the one fabric of pebbles I simply adore!
My kids thought it looked like a zipper=) You can get the pattern here.


Here is a close up of some of the quilting. Had a little fun free motion quilting it too. 


The next quilt I made is called Fractured Landscapes.  It is a pieced chevron looking quilt, and before all the pieces are sewn together, it gets fractured by black fabric strips.


Friday, September 23, 2016

Two Cute Quilt Tutorials


It's been a fantastic September to say the least.

This adorable Spider quilt was featured on the QUILTsocial blog, I created a free pattern and it was so much fun to make, be sure to check out the little spider hanging right off the quilt!


My little turtle quilt was also featured on QUILTsocial blog as well.  It is also a free pattern. 


I used some sweet buttons to make their little hats pop!


Sunday, April 10, 2016

Free Pattern for Quilted Wall Hanging

Check out the free tutorial over at QuiltSocial that I created using Northcott's lovely fabric.
The pattern is done using 3 different blocks and can easily be used as a wall hanging, or table runner. It showcases different ways to do the stained glass technique in quilting.


Here is the first post, showing 2 blocks that are pieced using the stained glass technique.


The second post shows how you can use fusing to create a stained glass block.


The third post shows stained glass blocks with a twist. 


This post talks about arranging your blocks and some tips to help.


The last post talks about quilting the wall hanging. 


Monday, September 7, 2015

Summer Fun of Quilts, Published and Tutorials!


Does the summer really translate to 'I am too busy quilting and enjoying family life to post?' Maybe this summer it did for me.

I have had some fun though.   It is such a thrill to see my quilts in print.  Here is my 'Falling Leaves' in Quilter's World magazine.  I designed it on EQ7 and used Riley Blake Fabrics and WonderFil thread to create it.


Then I got a little hooked on doing videos... but still have lots to learn, like turn the phone the other way!  The best part is my 2 sons, 10 and 11 years old were my camera men!


How to Make Hexies (hexagons) from Circles is a fantastic way to make hexagons if you are like me and don't like all the folding, gluing, pulling cardboard out type of gal!


How to Make a Travel Needle Case Holder is a super fast tutorial  from scraps.

In June I had put in my year as being President of Canada's national quilt association, and past and present board members gave me all these incredible blocks!


I just loved them so much, but as I am supposed to bring it back to the next Quilt Canada national conference all finished.. I had to put my spin on it!
What do you think?


I had this on my design wall thinking I would stitch it up as is, but the more I looked at it the more I didn't like the uniform of 1, 2,3, 4 I had created.   

I rearranged it all in a random pattern and stitched it back together. 


As you may know my hexies are just showing up in the most unusual places, here they are growing in my apple orchard!


Lastly, signing off with a view from my island.


Saturday, January 17, 2015

Eye of the Modern Tutorial

Here is a super fun and easy tutorial using only half square triangles!

Eye of the Modern
36” x 48”
 

 Material:
2.5 yards of White   includes backing
1/2yard of one print
1/2 yard of 2nd print
  ½ yard  3rd print
¼ yard 4th print for binding
¼ yard of 5th print for binding

 Instructions:
  1.  Using the White fabric, cut 4 strips 6 ½” wide x WOF (width of fabric).
  2. Cut those strips into 6 ½” x 6 1/2” squares.   Make 24.
  3. Cut the 6 ½” squares on the diagonal making 48 HST’s.  (half square triangles)
  4. Using the first 3 prints, cut 4 of each fabric 2 ½” wide x WOF.   4 strips of each of the 3 colours for a total of 12 strips.
  5. Sew together along the WOF length, a strip of one print to a strip of 2nd print, then sew on a strip of 3rd print. 
 
  1. Cut sewn strip into 6 ½” squares to get 24.
  2. Cut the 6 ½” squares on the diagonal making 48 HST’s.  (half square triangles)
  3. Sew a white triangle to a coloured triangle along the diagonal.  Press and trim corners.  Make 48.
 
  1. Layout in the following manner.  You might find it helpful to know that rows 1, 3 and 5 are the same.   Rows 2 and 4 are the same and rows 6 and 8 are the same.
 
  1.  Stitch blocks together to form rows.  Stitch rows together.
  2. Quilt.
  3. Cut 2 ½” strips from remaining prints for binding.  Sew alternate pieces together. Bind.
 
Enjoy your fun new modern wall hanging!

Monday, November 3, 2014

My quilt in Houston, a tutorial to celebrate, learn about good design and gratitude!

It was there, my quilt hung in Houston for the first time in the juried show.  A great gal Debbie, found it and took a picture of it for me.


Another friend posted it on fb for me, and told me it was hanging beside Sheila Frampton Cooper's quilt!  (the one to the right of mine)   I facebooked that it was hanging beside hers, then wondered 'Is she facebooking  that hers is beside Jackie White's?'  
I am just being silly, mostly because I am over the moon that my quilt finally hung in that show that I have spent so many years trying to get into!

To celebrate, head on over to the great Craftsy quilt blog and look at my fun tutorial on 3D flowers. They are so easy and the sky is the limit in making these!

3D flowers

I simply have to point you in the direction of '10 Principles of Good Design'. While not everything applies, it is an excellent read.

Lastly is a powerful video on gratitude that has already garnered over 1 million likes.

To all of you that read my blog... thank you!


Tuesday, July 15, 2014

Camping/Travel Laundry Bag Tutorial


It is that time of the year again when travel plans actually come to fruition.  I have made a quick and easy travel laundry bag that you can take with you to keep the rest of your clothes clean and smelling nice as you travel!


Let's get started, I am using Riley Blake Fabrics, because they totally rock! I have used 'Pepe in Paris' fabric.


Supplies:
Outer bag:
2 fabric rectangles 17" x 20"

Lining:
2 fabric rectangles 17" x 20"

Strap:
Two 15" x 7" pieces of fabric

Spice sachet:
Two 3" squares
2 tbsp pot pourri

Pocket:
Two rectangles 4" x 5"

Instructions:

Sachet: Sew the 3" squares of fabric right sides together (RST), leaving a 2" opening. Turn right side out, fill with spice or pot pourri and slip stitch closed. Set aside.

Sew the 4" x5" pocket RST along outer edge, leaving a small opening. Flip right sides out and slip stitch opening closed.

Sew the 2 outer bag rectangles RST along one 20" side. Repeat for lining.
How cute is this fabric?  It makes me want to travel!

Sew the pocket on the right side in the middle of one rectangle of the lining. Sew on both sides and bottom leaving top open.
I just put a pencil in so you could see the opening=)

Place outer bag, RST, fold in half so it is a 20" x 16.5" piece and sew both sides. Repeat for lining.

Sew the two strap pieces RST at the 7" end. Fold lengthwise, each long side into the middle and press.

Then fold one long side over to meet the other side and press. Stitch down on both long sides.


Turn outer bag right side out, leave lining wrong side out and slip the outer bag inside the lining. Pin each end of the strap between the two bags 5" in from each side and tuck the remainder of the strap inside the bag.

Sew around the top of the bag, leaving a 4" hole to turn. Flip right sides out and slip stitch the opening closed.


Slip the spice sachet into the pocket and you are ready to go. When you arrive at your destination, simply put your laundry bag on a hanger, on in a tree if camping and you are ready to go!