Showing posts with label 3D flowers. Show all posts

Thursday, October 8, 2015

6 Free Tutorials on Flowers for Quilts

You heard it right!  I am showing tutorials on my 3D flowers over at the Quilt Social blog this whole week!  How cool is that?  These little flowers are fast and easy to make, the only way I quilt=) Take a look at what you can create for your next quilt!

Check out how I can make hexies in under 15 seconds flat!


Enjoy making these and let me know where you use them. They are super cute on a quilt or quilted handbag, shirt, head band or wherever you can find a spot!

Thanks Quilt Social for letting me drop by and showcase my flower tutorials for your quilters!


Monday, November 3, 2014

My quilt in Houston, a tutorial to celebrate, learn about good design and gratitude!

It was there, my quilt hung in Houston for the first time in the juried show.  A great gal Debbie, found it and took a picture of it for me.


Another friend posted it on fb for me, and told me it was hanging beside Sheila Frampton Cooper's quilt!  (the one to the right of mine)   I facebooked that it was hanging beside hers, then wondered 'Is she facebooking  that hers is beside Jackie White's?'  
I am just being silly, mostly because I am over the moon that my quilt finally hung in that show that I have spent so many years trying to get into!

To celebrate, head on over to the great Craftsy quilt blog and look at my fun tutorial on 3D flowers. They are so easy and the sky is the limit in making these!

3D flowers

I simply have to point you in the direction of '10 Principles of Good Design'. While not everything applies, it is an excellent read.

Lastly is a powerful video on gratitude that has already garnered over 1 million likes.

To all of you that read my blog... thank you!


Monday, September 1, 2014

Back....

I took a little break, but now I am back and in full quilt mode=) One reason is I have 2 quilts in our local quild quilt show in a week and guess what.. I just finished one this morning.  The other one is about 20% completed.   Yes, I am trying not to panic.

The first one took 3 months of quilting. All machine and all straight lines, or as straight as I could make them without going slightly crazy.


Unfortunately I had to fill in the write up for the quilt before I had a name for it.  With me, the names of my quilts come sporadically.  Sometimes I know the name before I start, sometimes part way through and sometimes right at the very end.  This one, I had actually completed it and was bringing it back into my studio when the name hit me.   It is officially called 'Off Balance'. Sadly that is not the name of it at the upcoming show.


Now here is as far as I have gotten for the second quilt. 

If you guessed that those were flower petals for a 3D quilt, then you guessed correct.   I have 40 of them made and quilted.  I just have to actually turn them into a flower, quilt the background, bind and attach the flower=)


The background colour was a toss up between an olive green and a dark brown.  I went with the green.  I don't have a name for this one....yet.
When do you name your quilts?


Sunday, April 27, 2014

Hidden Messages


I volunteered to do the machine quilting on a small quilt our guild made, that goes to cancer patients in the hospital when they have chemo.  They put it on to keep them warm.  


I did a loopy carefree stitch and as I was quilting I thought it would be fun to put a few surprises on the quilt.


It took me a long time to get good at writing with my machine, but now I can just go at it, and I love to put little messages in my quilts=)


When I finished that, I continued to work on my giant 3D flower I am making!  It is going to be a modern flower quilt!


Now if you would like a bit of creative inspiration, check out this great TED talk.


Thursday, January 23, 2014

A Binding Tip and My Latest Creation


I have been making a modern 3D bed runner.   I really don't know the difference between a bed runner and a table runner other than one fits the size of your table and one your bed.   I am wondering if it is just another excuse to make a quilt?   Either way, I am in!  

I had some lovely solids with a whole swack of white and played around creating this runner.  When it was done, I felt it needed a bit more zing to it as there was so much white in the middle.   I made twelve 3D flowers and twelve twirlies and laid them out randomly in the center of the runner.


Now I have a confession.  When I do binding, the end part, I never do that cut, measure, miter thing.  All I do is tuck one end into another and keep on going.  Then feel bad that I never learned how to do it properly.  That is probably why I haven't won one of the top 3 at Houston yet.  That or I have to actually get a quilt accepted first=) 

I came across this fabulous binding tutorial at Ellison Lane and simply had to tell you about it!  I don't have permission to borrow pictures but go and take a look.  Totally easy with great photos.


Thursday, October 17, 2013

Published.... In A Book!


I do actually have other things I am working on to blog about, but this just came in the mail and I was sooo excited to show you.   I have a quilt in a book!   A real live quilt book!   It is based on using 6 fat quarters.


My 3D flower wallhanging was selected to be featured.  They asked that it be in fall colours, which is why you see no pink in it=)


When I sent in the pattern, I put in lots of pictures instead of sketches, as I can't draw at all.   Imagine my surprise when I opened the book to see they used all my pictures!   


The other projects in the book are amazing.  I am off to my studio to try and quilt and get the silly grin off my face.


Wednesday, September 18, 2013

Published.... again!


I have spent the last few days in the big city!   I live in the country, and I mean pure country.  No fast food restaurants, no stop lights  (just one coming onto the island), no movie theatres and no big shopping malls.    It is always a huge treat to head into the city.  

This time was even more special because I had been invited by two guilds in the Toronto area to do a trunk show.   One guild is the largest in Ontario.   I had a terrific time at both and thoroughly enjoyed meeting fellow quilters and sharing my quilts and stories with them.

I even got to do a bit of shopping at a really big mall=)

After a whirlwind trip, I arrived home to a delightful package from the post office!  The latest edition of the 'Quilter's Connection' with my 3D flower project inside.

See the three dimensional flower on the right hand side, surrounded by ric rac and showing off a cute button in the middle?   Yeppers that is mine.   This is one of my raw edge flower techniques that I frequently use on my quilts.  It is fast, fun and can be embellished with all different kinds of yarns or ric rac.

Fall 2013 TOC


Friday, September 13, 2013

Having Fun At Quilting


Sometimes I can get a bit bogged down with deadlines and paperwork for quilting and don't actually have the time to just have fun and try new things out from my sketch pad.  
The other weekend, I just took the time to play and it was great!

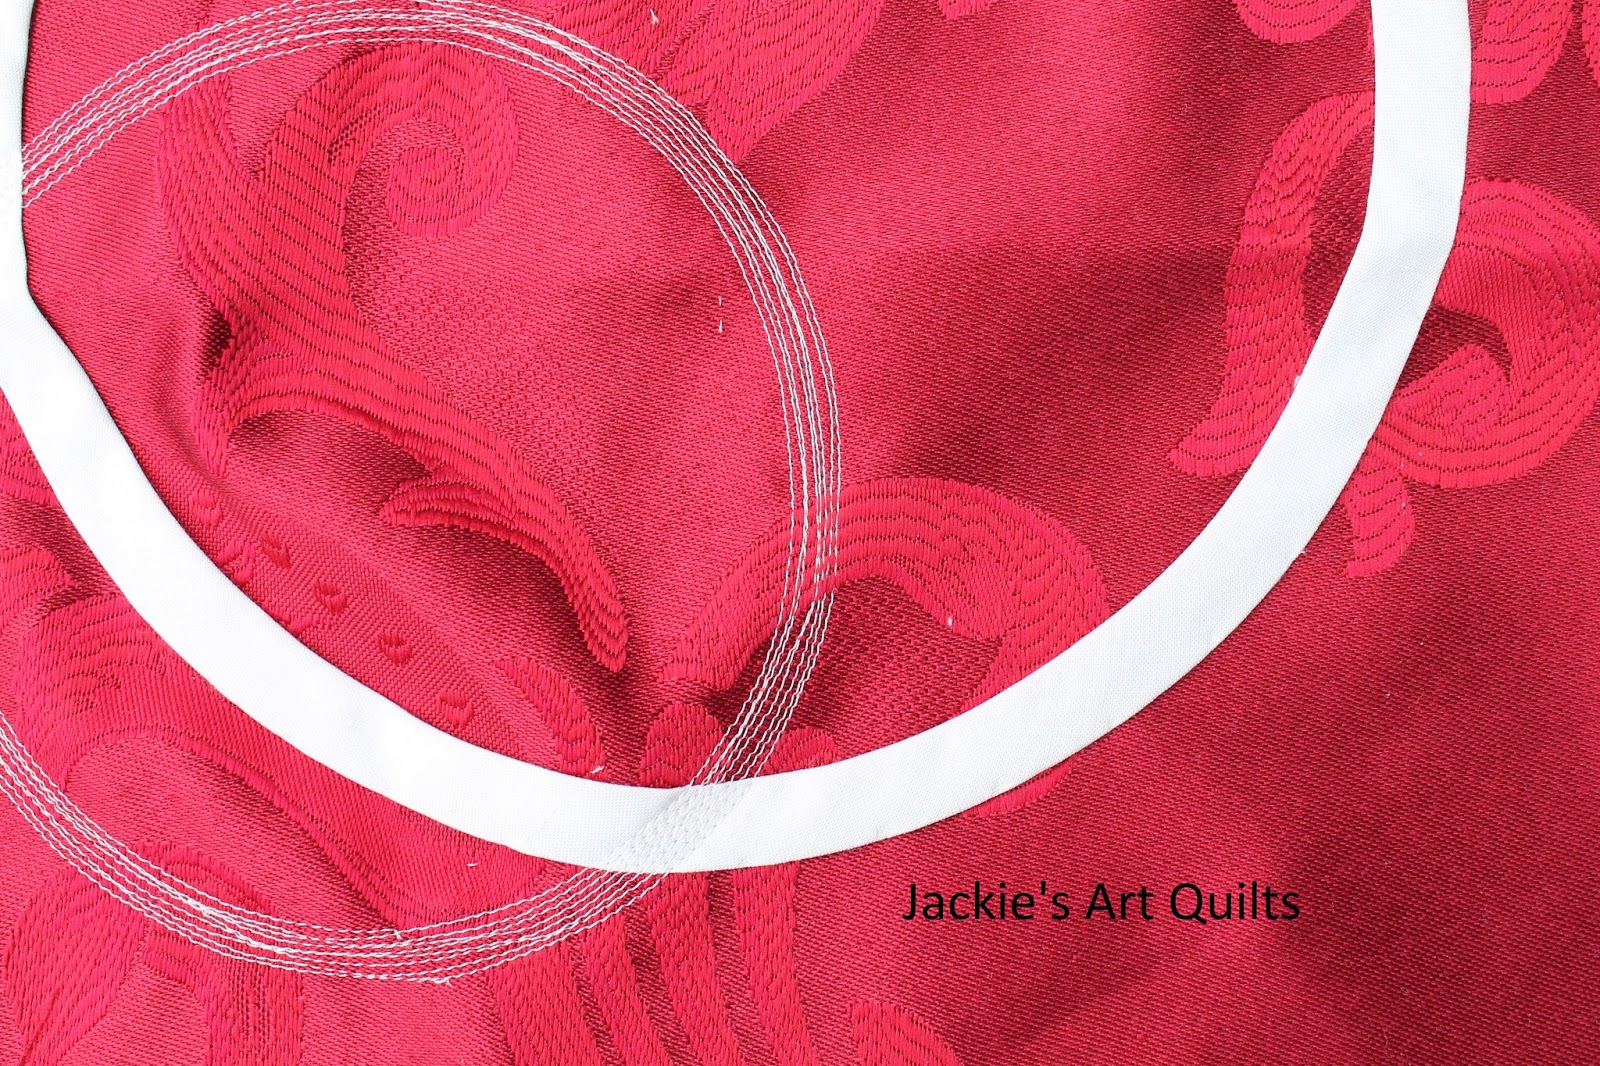
Below is a piece of a table cloth with a very fun design on it, and I wanted to try a unique way to put a circle on.   I knew the piece would shift but didn't have any stabilizer, so went ahead.   The shifting didn't happen until I went to stitch the second circle that is all thread- then I got a big bubble=)

I am pretty excited about this, so have ordered some fusible interfacing and  think I will give it another try.


In October I am teaching a few workshops on my 3D flowers.  I have a few samples made, but wanted to make some really wild looking petals.   Below is what I came up with!

I think I have to make a point of setting aside time each month to just experiment and have fun.  Do you take time out to just play?


Tuesday, July 30, 2013

My 3D Flower Tutorial

I think this is one of the best emails I have received in a very long time.    A while back Susan G. wrote and asked me for permission to use my 3D flower tutorial on a quilt she was entering into a show.     Today she writes:

I was absolutely thrilled to receive a ribbon on my first exhibited quilt.  There were 2 NQA certified judges and 1 AQS certified judge at the August, Maine Quilts show so I am very pleased. Thank you so much for your inspiration. 
I have 3 friends who are now playing with your flowers.  They are just soo much fun.  I also watched dozens of people take pictures of the 3D flowers on my quilt.  That really got a lot of attention.

Here are the flowers she made.

And here is her quilt with her wonderful ribbon.  Congrats Susan!


For those that may have missed it, here is the tutorial again.

A 3-D Flower Embellishment Tutorial


The method I am going to show is one of several ways I incorporate craft foam into my quilts using my original 3D technique. I call this my “Raw Edge” method. This wall hanging is based on using these flowers, and once you master this simple yet effective technique, you can create as much as your imagination allows.
Supplies
  • 2-3 large sheets of craft foam, matching or contrasting with your fabric (Craft foam is found in craft stores like Michael’s or Hobby Lobby, often in the children’s section).
  • 6 fat quarters of coordinating fabric to make flowers and vase (or 12 coordinating scraps each that are at least 5″ x 5″ for the flowers and 1 scrap that is 7 1/2″ x 4 1/2″ for the vase)
  • 1 fat quarter for background fabric
  • 1 fat quarter for backing
  • Fusible web such as Wonder Under (the paper back is easier to work with for this method)
  • Rickrack for stems
  • Batting 18″ x 20″
  • Paper and pencil
  • Tennis ball or some small round object
  • Buttons, vintage earrings, yarn and/or rickrack for embellishing (optional)
  • Flower Template (optional) click to download
  • Vase Template (optional) click to download
Flower templates
You can make your own flower templates following the directions below or use the template patterns provided.
Draw or trace a circle approximately 4″ in diameter. Draw a wavy line coming about 1/4″ in and out of the circle. This will be your first flower template.
3D flower embellishment on C&T Publishing Blog
Create a few other templates or just use this one. Even a plain circle makes a great flower once it goes through the process. Here are the flower templates used for this wall hanging.
3D flower embellishment on C&T Publishing Blog
Create the flowers
For each flower: Cut a 5″ x 5″ square from each of 2 coordinating fabrics, cut a 5″ x 5″ square out of craft foam, and cut two 5″ x 5″ squares from fusible web. Apply the web to the wrong side of each fabric square.
Make a sandwich with one fabric square wrong side up, the craft foam square, and then the other fabric square right side up. The fusible side of both pieces of fabric should be touching the craft foam. Iron both sides for 10 seconds with no steam.
3D flower embellishment on C&T Publishing Blog
Decide which side is going to be the front and back of your flower. Turn your 5″ square sandwich so that the back is facing up and trace your template with a pencil.
Set your machine for a small tight zigzag stitch (machine appliqué) and stitch right on the traced line. Once done, either free motion quilt or straight stitch in the middle of the flower to secure the fabric. Cut out the flower 1/8” outside the zigzag stitching.
3D flower embellishment on C&T Publishing Blog
Place your flower on the ironing board front side up and, with no steam, iron over the flower for 10-15 seconds. Remove iron and press flower over tennis ball spreading your fingers around creating little pockets or “petals” in your flower.
3D flower embellishment on C&T Publishing Blog
Hold until the flower cools, or about 40 seconds. (If you want to redo it, just repress with the iron and try again).
3D flower embellishment on C&T Publishing Blog

3D flower embellishment on C&T Publishing Blog
You can leave the flower as is with the raw edge showing, or couch some funky yarn or rickrack around the outside to really make it pop. Leave the center plain or add a piece of vintage jewelry or a button you’ve covered with fabric.
Tips
  • Try creating a block using a 9-patch and cut a flower from that
  • Create flowers of different shapes
  • Use more or less stitching in the center and see how it creates different textures for the flower
  • Shape the flower over varying objects such as a golf ball, a spool of thread, or the bottom of a glass for a unique 3D look
  • Use threads that match or threads that contrast when quilting the flowers
To Make the Wall Hanging
Cut the background fabric to 16” x 18.” You can decide to cut the bottom of the background on an angle and add another piece of fabric as I did. Create a vase using the template provided—or draw your own—out of the scraps of your fabric and adhere fusible web to the back of the vase. Pin the vase on to the background fabric. Place your flowers and rickrack stems on the background fabric, tucking the stems just into the top of the vase until you find a pleasing arrangement. Mark each flower with a small pin and remove. Stitch the rickrack stems down.
3D flower embellishment on C&T Publishing Blog
Place the vase over the stems and fuse it to the background.
Cut the backing fabric 18″ x 20.” Layer the quilt top, batting, and backing. Quilt, then trim the batting and backing even with the quilt top and bind.
Attach flowers onto your wall hanging with hand stitching.
3D flower embellishment on C&T Publishing Blog