Showing posts with label Baby GO. Show all posts

Saturday, November 26, 2011

Dyed Batting

I have finished a cute fast little project for Pellon.   I dyed batting with Kool Aid!   It is easy and turned out really cute.  Check out the tutorial here.
Picture of Flower Brooch

I also got a little carried away with the dyed batting....
This is a cute little pouch, used my Baby GO! for the circles. A tutorial will be available soon!

A second brooch, GO! again at work.

Another pouch.


What else could you do with dyed batting?

Friday, November 11, 2011

Surprises and Feedback

Let's start off with the frustration first.   I have been working away  on my R & B quilt.   Yesterday, I decided that the blue streaks in  it needed to tie in with something, not just go off the quilt.   I felt the eye was left stranded.   I cut the same wavy pattern on the perimeter and added blue borders.

Now I don't know if I like it or not.

Keep in mind that it is looking quite square, but the outer edges of the blue borders are going to be shaped into the wavy pattern as well, and not so thick.   What do y'all think?

Before Border


 After Border 


On a much happier note, look what arrived in the mail today?  That is all embellishment goodies.   It was a big bag of zipper tape, ribbons, buttons, pompoms, and ric rac.   Totally fantastic.   My dear friends at Riley Blake Fabrics are letting me do something totally wild and crazy.  More on that later.


Do you see the packet of 2" squares?  My BFF Brooke sent these to me!  She knew I was so sad that I didn't get to market with several of the design team  (probably cause I whined about it every day), so she mailed me these scrumptious squares.   Yes that little paper does say Good Fortune by Kate Spain! How super cool is that?  Love that girl!


You only have 2 more days to enter the giveaway for a Baby GO!

Monday, November 7, 2011

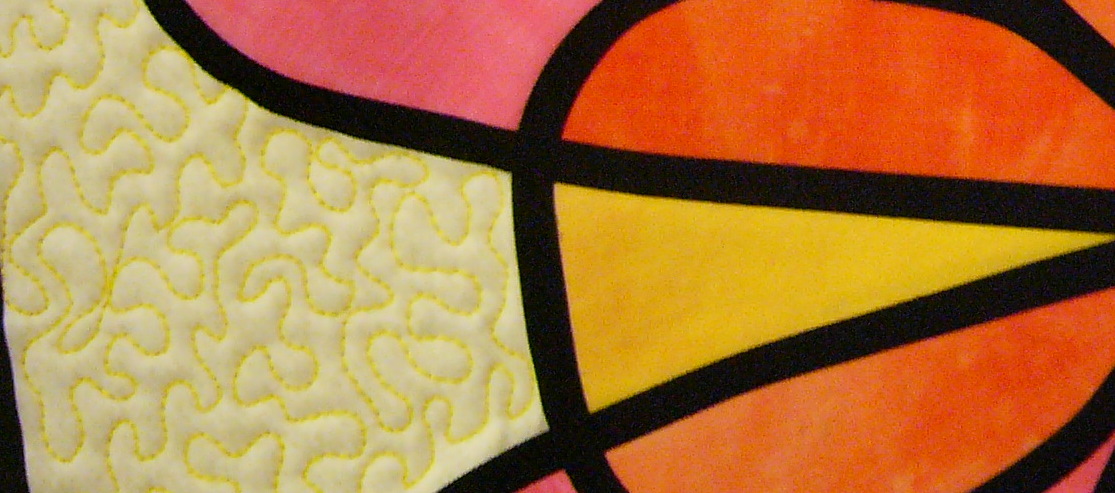
Stained Glass Quilt

Remember I gave you a glance of this:


Here is the rest of it:


It is finally up on the Pellon site and my whole tutorial is there.   It is an original design and let me tell you, I had a real tricky time designing this template.   I must have had over 15 different designs on my sketch pad, before I found one that worked and looked good.


I used all my hand dyed fabrics for it, and love how the colours have different shades in them, just like light peaking in behind.   If you want to make one, click here for the tutorial.  It is not a difficult procedure and it is fun picking out the fabrics that will go in each little section.  One could get really carried away and make several, just to see how different they all look.

If you haven't entered the GO! giveaway, click here.

Sunday, November 6, 2011

A Preview

Hi Folks!

If you are a new follower, thanks for joining.   Here are a few things about me you should probably know.  

1.   I love making art quilts.  
2.   I love making my art quilts 3D.
3.   Creating non art quilts is something I do alot of too, and I really like that.   When I make those,
       there is always a tutorial written for you.
4.   If you check out the page at the top titled 'My Articles', you will laugh... if you don't, you should
     seek medical attention.
5.   There is a small touch of sarcastic humour about me that I rarely share=)

I am working on an art quilt and am now at the stage of getting ready to quilt it.   I have done a bit of thread painting prior to the quilting of it.  


Remember it started out looking like this:

I have done a whole lot more with it.   I have used my GO! and added a pile of circles to it,and some lovely swirls in the middle.   Once I get it pinned, I will take another progress picture to show you.  All but the light blue linen in the middle of the bright blue stripes is my own hand dyed fabric.   The pink to red is made up of 6 gradations.   

I don't have a name for it yet.   On most occasions the name of my quilts usually comes at the quilting stage or as I am putting the binding on it.   For now, I refer to it as my R & B quilt.   (Red and Blue)


If by some rare chance you haven't entered my Baby GO! giveaway, click here to enter. 


Friday, November 4, 2011

Baby GO! Giveaway x 2 Now Closed

You heard it here!   I am giving away a Baby GO! and so is my friend Julie over at The Intrepid Thread.
Accuquilt is letting me give away one of their fabulous Baby GO!'s and 3 dies for it!


GO! Baby Fabric Cutter

I will tell you, there are few products out there that do exactly what they say they will do.   Accuquilt GO!  is one of them.   These machines are truly remarkable.   I have used mine way more than I thought I would.   They not only cut fabric, but flannel and felt just like slicing through butter.  I had a guy email me to tell me after seeing my tutorial on Pattern Review, he was getting one to do felt Christmas ornaments.  How cool is that?   

You can also get 22 free patterns when you sign up to get their emails.   

Onto the giveaway, all you have to do is be a follower and tell me which 3 dies you would choose.  To keep you as a follower, I will be holding giveaways on a very regular basis=)

For a second chance to win a Baby GO!, go and see Julie over at her blog to enter.  While you are there, you would be crazy not to check out her etsy store, her prices will make your jaw drop.

I will announce a winner on Monday November 14, 2011.  Good luck!

Tuesday, October 18, 2011

Baby GO! Tutorial

I have been using my Baby GO! non stop.   I love it.  A.L.O.T.  And when I am not using it, I am looking on their website to see what dies I simply must have.  Okay, it is all of them.   But who's counting?

As you have heard me say a zillion times, I love circles.    One of the dies I bought was the 2", 3", and 5" circles.  Did you also know you can sign up to receive their newsletter and you will get 22 free patterns.  You don't even have  to have a GO! to use them.


Cute?   This was made using my Baby GO!  It was so fast and so much fun.   The best part is that I can put a little star on the top, throw some little presents underneath and it becomes a Christmas wall hanging.  Or I added a few little flowers on it.  I left it plain, as my kids are going to decorate it for me.       That is another great thing about the GO!, you can cut out shapes and have your kids decorate wall hangings for each season!

Here is how to make one.

Supplies:
2 fat eighths of green fabric
6" square of red fabric
3" x 6" rectangle for tree trunk
23" x 21" for background and backing
material for binding
batting

Accuquilt Baby GO!
Rose of Sharon by Sharon Pederson, #55045 Die
GO! Circle 2", 3", and 5", #55012 Die
Fusing
Sewing machine
Cutting Tools
Iron

I used fabric from the Delighted collection from Riley Blake fabrics for the greens in the tree, the red balls and the binding.

I fused Wonder Under to the back of two 8" x 6" pieces of the green fabrics.
I used my Circle Die and cut out 9 - 3" circles and 9 -2" circles from the two different green fabrics. 


Fuse Wonder Under to the back of the red fabric.  Using the Roses of Sharon die, place the red fabric on the 1/2", 3/4" and 1" circles.  You will need about 20 circles.   You will see I also used a bit of the binding fabric for my circles as well.  

Fuse Wonder Under to the back of the fabric for the tree trunk.  Cut out a trunk shape.  I just free handed it.   Place this on your background fabric and begin layering the tree.  You will start with the biggest circles at the bottom.    
Continue layering the tree, alternating fabric, until you use up all your green circles. 

Add the red balls on top and fuse in place with a hot iron following manufacturer's instructions.


If you want the flowers at the bottom, then use the Rose of Sharon die, and cut out some flowers and leaves.


The red balls can either look like apples, or if it is near Christmas, like holiday balls.   If it is going to be for Christmas, add a yellow star at the top and some cute presents at the bottom.


Square up your background.   Quilt and bind.   I did circle quilting on the tree and trunk.   And a large stippling in the background.


The GO!  really makes things go smooth and easy.   What are the highlights of the Baby GO! that I enjoy?   It cuts circles out perfectly.  And it does it quickly.   It is so easy to use and small to store.   It is a definite time saver and makes my quilts look more precise.    

Don't forget to enter my fabric giveaway, it ends on Friday.


Wednesday, October 12, 2011

Baby GO!


Guess what I have been keeping a secret?   Accuquilt has asked me to be one of their Official Accuquilt Bloggers!  

They sent me a Baby GO!


I chose these 3 dies:

Roses of Sharon, Circles and Feathers.  
GO! Rose of Sharon (55045)


I am working on the cutest little tutorial as we speak.   Of course I had the GO! working within an hour of it entering my house.  
I do have to say, it is so easy it is ridiculous!   We all know my slight obsession with circles, so it is no surprise that I have over 50 circles cut with my GO! already.

Stay tuned for more GO! excitement.